My travel and daily camera: the Fuji X100F

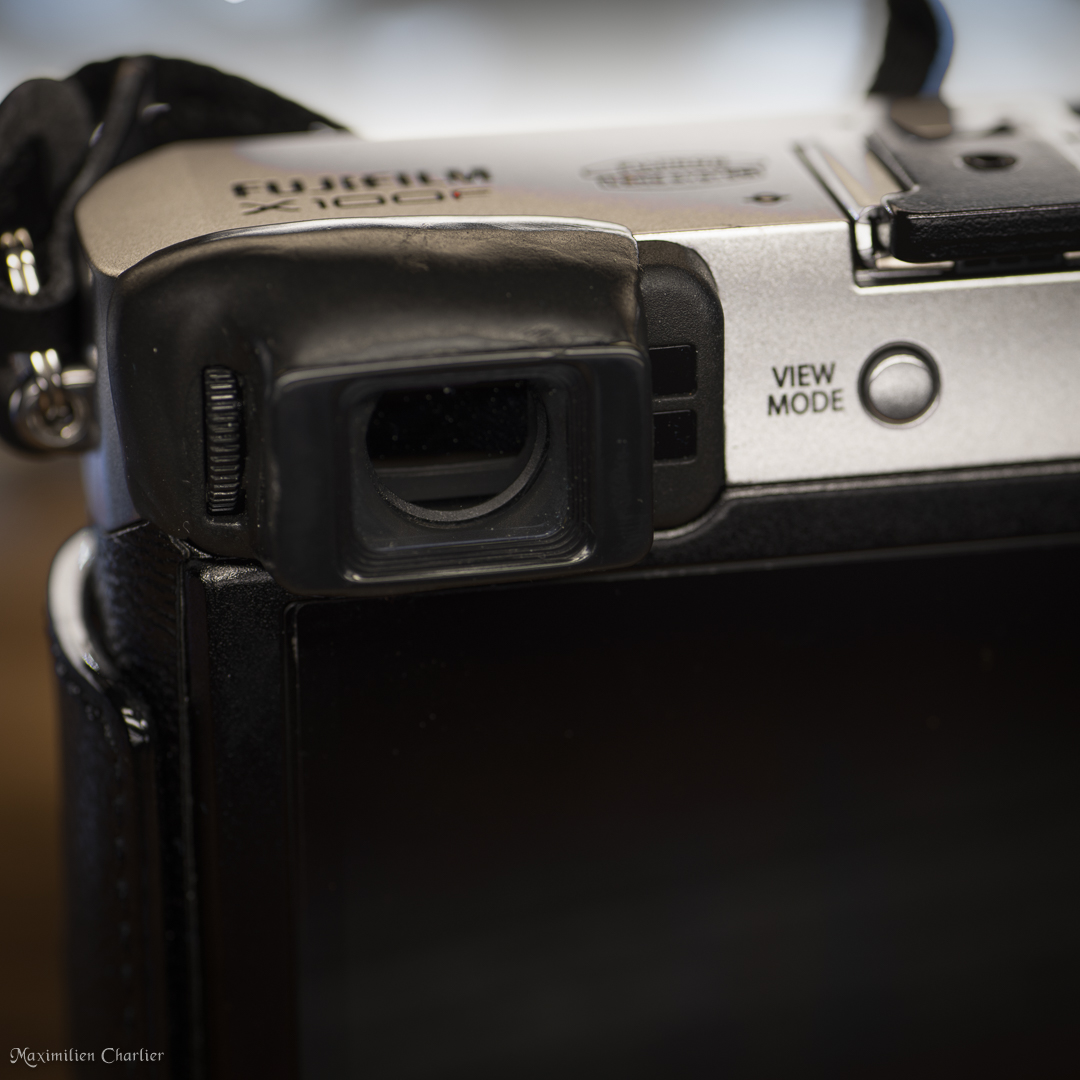
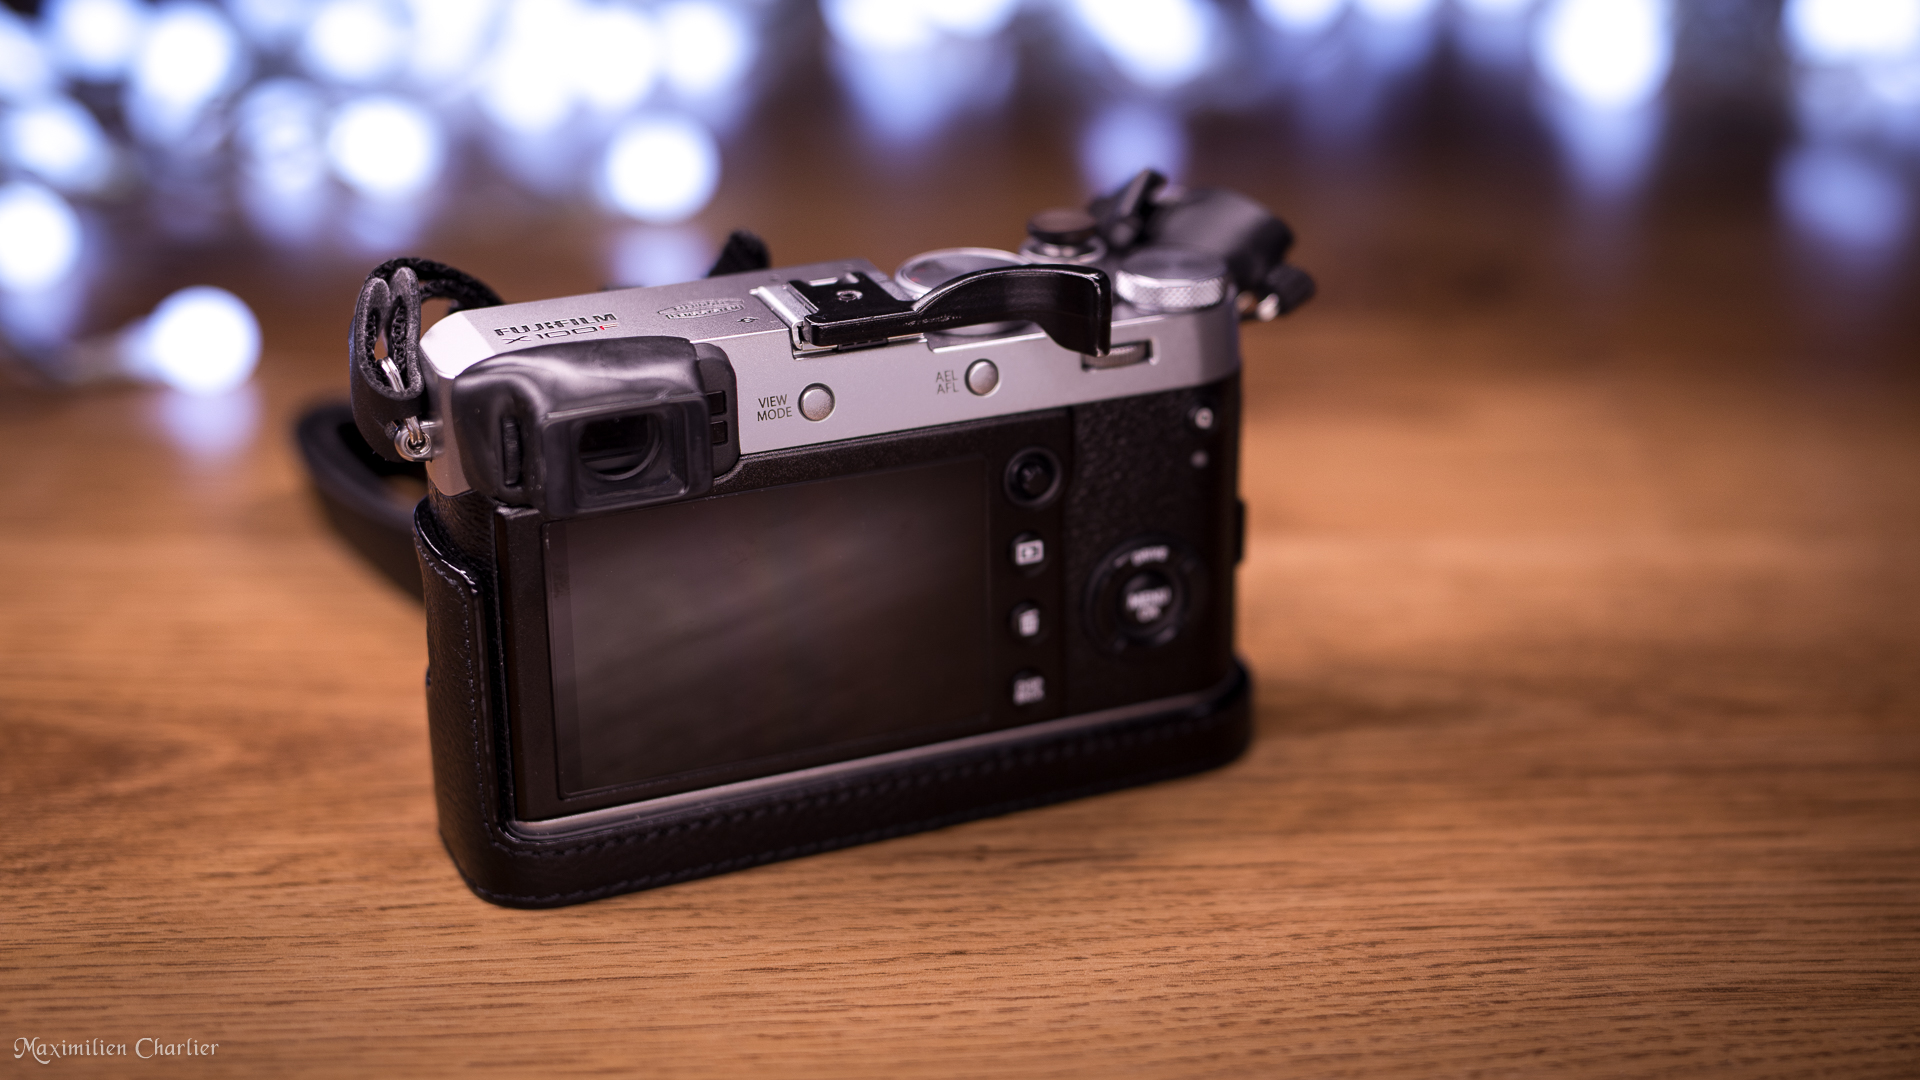
Last year, I have made a road trip with a friend from Belgium to Slovenia crossing Germany, Swiss, Italy and Austria. It was a very, very cool trip. I have seen mountains and milky way for the first time and that left me a very peaceful sensation. I have taken with me my Nikon D810 and 3 lenses : a 16-35 mm, a 14 mm and a 70-300 mm. My bag feel heavy and a dreamed of having a little camera that I could take with me everywhere without thinking of them. After this trip this idea stay in my head and I have started to search for a little camera with a good-quality image. After some research I was filling in love with a Fuji camera called X100F. They have a very beautiful retro look but also a very good image quality. Thanks to a very big sensor, compared to the size of the camera. They also have no mirror, no interchangeable lens… and an electronic view finder (EVF)! Like mirror-less camera (Sony hype here). I always wanted to try an EVF and after taking them in my hand I directly feel in love with the fact that I can see the histogram in the viewfinder. My only concern before buying this camera is the fact that I need a very big eyepiece diopter correction… something like minus 5 or 6. Like the majority of the cameras this day, it was limited to minus 2 and then I only see a very fuzzy image in the viewfinder. The first thing I needed to do before buying this camera was to found a way to add a correction eye piece. Fuji doesn’t sell correction eyepiece like Nikon… Talking of Nikon, I directly consider the Nikon DK20-C correction eyepiece. They are built for entry level Nikon camera with a square eyepiece. I already use them on my old Canon camera and they look big enough for the X100F viewfinder.
Adding a Correction Eyepiece
Comments